
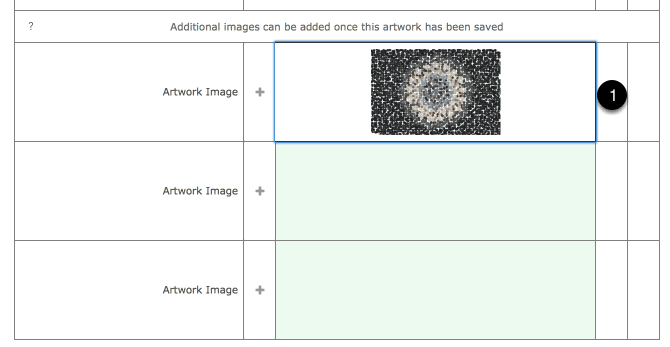
Entering Artwork Images
- You can store a virtually unlimited number of artworks for each artwork in Tessera. When you add a new artwork you can add three artworks. Once the artwork is created you can add any number of additional images and select which image should be the Primary Image for the artwork. On the Artwork Edit Screen, and throughout Tessera, it’s the image you select to be the Primary Image for the artwork that’s displayed. This is the image you’ve selected to represent the artwork from the ones available for the current artwork. You can select just one of the images for each artwork to be the Primary Image.
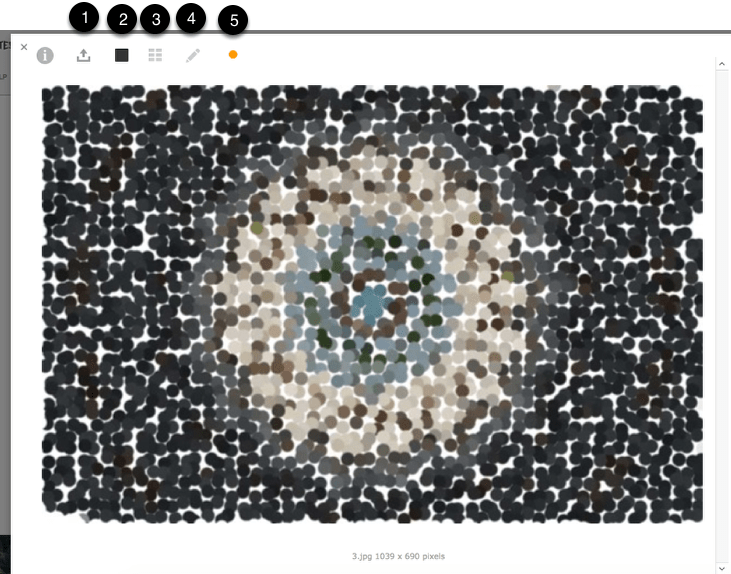
Viewing images on the Artwork Dashboard
Clicking on images in the Artwork Component or throughout Tessera opens the image in the Artwork Dashboard.
- Use this button to move to the image share screen where you can create an email in your default email client with the Primary Image and basic artwork details or copy and download images and related artwork details.
- Use this icon to view the Primary Image associated with the current artwork.
- Use this icon to review all available Primary Images for the current artist.
- Open the Image Manager for this artwork
- Stock icon showing current stock availability. Click on icon for more details.
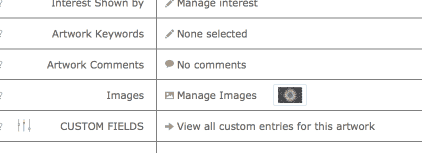
Using the Image Manager
Use the Manage Images button on the Artwork Edit Screen. The Image Manager Screen can also be accessed from the Artwork Dashboard.
The Image Manager
The Image Manager gives access to a wide range of tools for managing the images for the current artwork and for the current artist.
- Use this button to add a new image.
- Image tools gives access to a number of additional features.
- Import a folder of images all of which will be attached to the current artwork.
- When there’s more than one image for the current artwork select the order in which they appear.
- Reveal a list of image file names that can be copied.
- Reveal a list of all artworks by the current artist so the user can move directly to another artwork image record.
- Manage image size for all images. Images can be imported at any size and occasionally you may want to review all images and resize them where required.
- The starred image is the Primary Image used throughout Tessera.
- Any image available for the current image can be made the Primary Image using the button provided.
- Use this icon to edit the selected image.
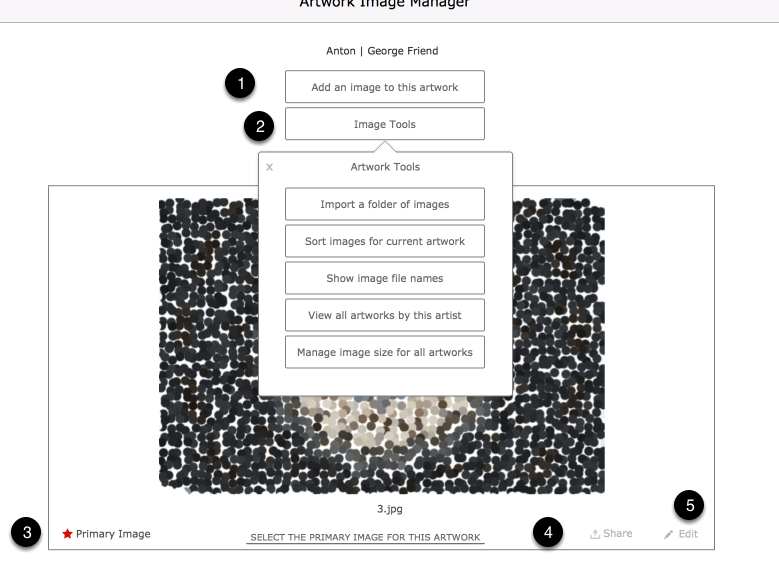
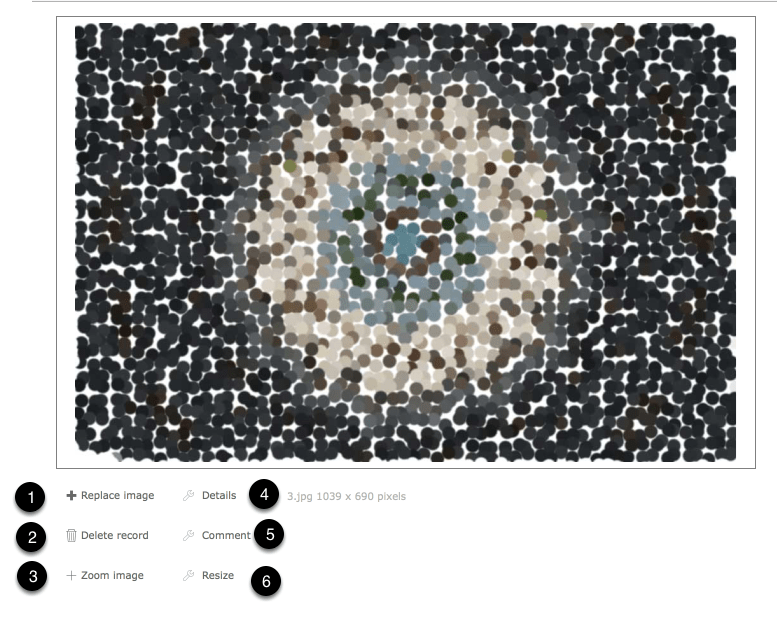
Image Edit Screen
- Replace the current image.
- Delete the displayed image.
- Zoom image.
- Show range of details for the current image file.
- Add general comments.
- Select to reduce size of current image.
 Storing images within Tessera
Tessera defaults to storing images within the Tessera file. When prompted to insert an image when working on the desktop you’ll see an option in the Insert dialog box to Store only a reference to the file.
With this option selected only a reference to the original file will be stored in Tessera. The image file, or other electric document, will remain where it lives in a folder on a hard-drive somewhere on your network or on your local computer.
This keeps the file size of Tessera smaller but changes to the file name of the image or of the directory/folder where the file is stored will break the link and remove the image. It also means when backing-up Tessera you will have to ensure all related media is also included.
For most situations leaving this option unchecked is the best choice. Images will be stored within Tessera, which will increase the file size, but Tessera is able to manage very large data sets and with inexpensive backup options available you have the security of knowing that backing up Tessera will backup all related media files as well.
You can also be sure that inadvertent changes to folder and network device names will not apparently remove images and other electronic media from Tessera.
Importing Multiple Images into Tessera
If you have a folder of images you want to import into Tessera that have not yet had corresponding artwork details entered, then follow these steps and new artworks will be created, one for each artwork. You can then add details to each artwork in turn before committing them to Tessera.
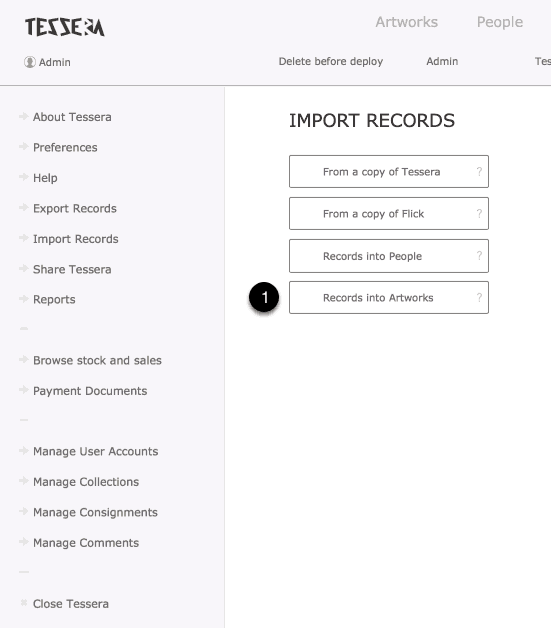
- Use the Import button on the Home Screen and select to Records into Artworks.
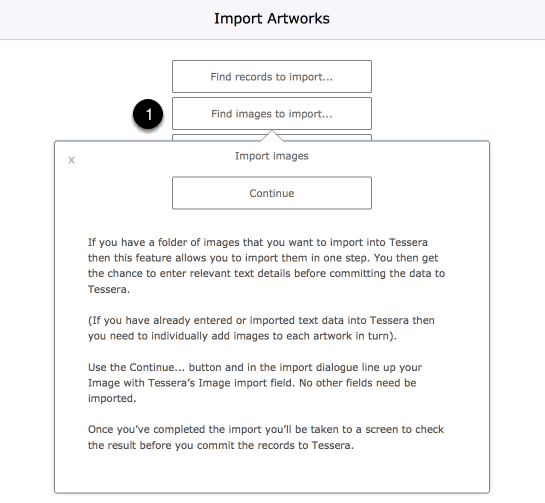
Import Options for images
- Select to Find images to import…
Import dialog
- Select to import a folder of images.
- Find and select the folder.

Import dialog
- The only item you need to import is the one named Image which needs to be aligned with Image on the right side of the import dialog box.

Once imported you’ll be on the import artworks screen and each artwork image will be attached to a new artwork record. Make and editing changes before committing the artworks to Tessera.